A Summer Pie To Die For

HOTCHKISS, CO – Winding along Highway 133, on the way to Paonia, a giant road sign beckons with “apricots, cherries and peaches.” It is Delicious Orchards, a must-stop for fruit savvy tourists here; a beacon for U-Pickers as well as hungry travelers. The cafe inside the tiny market has a compact menu of items that are better than they need to be. Tamales smothered in spicy green pork chili and a homemade bratwurst reuben were two of the better roadside meals I’ve had in a long time. But when it came time for dessert, there were just two choices, both of them pie, and both irresistible.
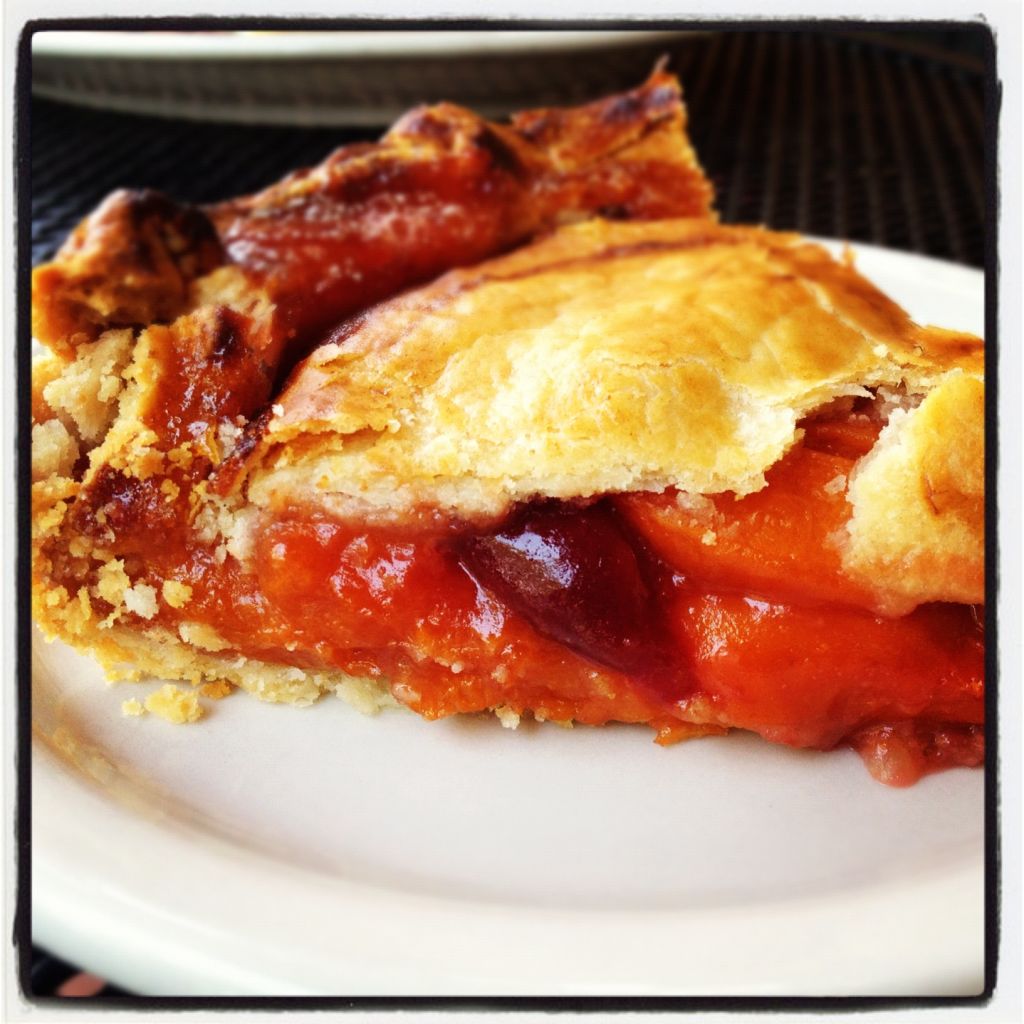
The orchard puts its extra cherries and apricots to good use, utilizing them in those house made pies that have crusts as buttery and flaky as the ones I’ve had back home at Bang Bang Pie and Hoosier Mama. How good were they? Good enough to get me to go back for lunch two days in a row, just so I could have another slice of this ethereal pie. After a phone call, and a bit of prodding, they were kind enough to share the recipe with me. Now that we’re into the stone fruit season in the Midwest, I couldn’t think of a better excuse to go to the farmer’s market. (Note: they did not give me the recipe for their pie crust, so I’m running a basic flaky pie crust recipe from Rose Levy Beranbaum’s The Pie And Pastry Bible, which is my bible whenever I’m looking for pastry-related help).
Delicious Orchards Apricot and Bing Cherry Pie
3.5 lbs. medium ripe apricots and 2 cups fresh pitted bing cherries
2 cups sugar
1/4 cup flour
1/2 teaspoon salt
1/2 teaspoon vanilla extract
1/4 teaspoon almond extract
pinch of ground clove and ground cinnamon
Mix all ingredients together well but gently, pour into your preferred pie crust, top with crust, sealing well…refrigerate 1 hour…bake at 350 degrees for 60-75 minutes depending on your oven. Allow pie to rest for 1 hour before cutting.
Pastry for a two-crust 9-inch pie
- 14 tablespoons unsalted butter, cold
- 2 1/4 cups + 2 tablespoons pastry flour or 2 1/4 cups (dip and sweep method) bleached all-purpose flour
- 1/4 + 1/8 teaspoon salt (for savory recipes, use 1 1/2 times the salt)
- 5 to 7 tablespoons ice water
- 1 tablespoon cider vinegar Optional
- 1/4 teaspoon baking powder (if not using, double the salt)
Read More http://www.epicurious.com/recipes/food/views/Basic-Flaky-Pie-Crust-101858#ixzz20elz8lfn
Divide the butter into two parts, about two thirds to one third:
4.5 ounces and 2.5 ounces (9 tablespoons and 5 tablespoons)
Cut the butter into 3/4-inch cubes. Wrap each portion of butter with plastic wrap, refrigerate the larger amount and freeze the smaller for at least 30 minutes. Place the flour, salt, and baking powder in a reclosable gallon-size freezer bag and freeze for at least 30 minutes.
Food processor method:
Place the flour mixture in a food processor with the metal blade and process for a few seconds to combine. Set the bag aside.
Add the larger amount of butter cubes to the flour and process for about 20 seconds or until the mixture resembles coarse meal. Add the remaining frozen butter cubes and pulse until all of the frozen butter is the size of peas. (Toss with a fork to see it better.)
Add the lowest amount of the ice water and the vinegar and pulse 6 times. Pinch a small amount of the mixture together between your fingers. If it does not hold together, add half the remaining water and pulse 3 times. Try pinching the mixture again. If necessary, add the remaining water, pulsing 3 times to incorporate it. The mixture will be in particles and will not hold together without being pinched.
Spoon the mixture into the plastic bag. (For a double-crust pie, it is easiest to divide the mixture in half at this point.)
Holding both ends of the bag opening with you fingers, knead the mixture by alternately pressing it, from the outside of the bag, with the knuckles and heels of your hands until the mixture holds together in one piece and feels slightly stretchy when pulled.
Wrap the dough with plastic wrap, flatten it into a disc (or discs) and refrigerate for at least 45 minutes, preferably overnight. (For a pie shell and lattice, divide it in a ratio of two thirds:one third — use about 9.5 ounces for the shell and the rest for the lattice, flattening the smaller part into a rectangle.)
Hand method:
Place a medium mixing bowl in the freezer to chill.
Place the flour, salt, and optional baking powder in another medium bowl and whisk to combine them. Use a pastry cutter or rub the mixture between your fingers to blend the larger portion of the butter into the flour until it resembles coarse meal.
Spoon the mixture, together with the cold butter, into a reclosable gallon-size freezer bag. Expel any air from the bag and close it. Use a rolling pin to flatten the butter into flakes. Place the bag in the freezer for at least 10 minutes or until the butter is very firm.
Transfer the mixture to the chilled bowl, scraping the sides of the bag. Set the bag aside. Sprinkle the ice water and vinegar onto the mixture, tossing it lightly with a rubber spatula. Spoon the loose mixture back into the plastic bag. (For a double-crust pie, it is easiest to divide the mixture in half at this point.)
Holding both ends of the bag opening with your fingers, knead the mixture by alternately pressing it, from the outside of the bag, with knuckles and heels of your hands until the mixture holds together in one piece and feels slightly stretchy when pulled.
Wrap the dough with plastic wrap, flatten it into a disc (or discs) and refrigerate for at least 45 minutes, preferably overnight. (For a pie shell and lattice, divide it in a ratio of two thirds:one third — use about 9.5 ounces for the shell and the rest for the lattice, flattening the smaller part into a rectangle.)
Store:
Refrigerated, up to 2 days; frozen, up to 3 months.
Understanding:
Pastry flour offers the most tenderness while maintaining flakiness, but it is the addition of vinegar that relaxes the dough without losing flakiness, making it easier to roll, shrink less, and be even more tender. The baking powder lifts and aerates the dough slightly without weakening it, but it makes it seem more tender.
The secret to success is finely incorporating about two thirds of the butter into the flour, which keeps the flour from absorbing too much water and forming gluten, which would make the crust tough. The remaining one third of the butter is incorporated in larger pieces, which serve to seperate the layers, resulting in the desired flakiness. This pie crust does not shrink or distort as much as the standard all-butter crust because there is less gluten development.
If when adding the water, you find you need more than indicated in the recipe, chances are you haven’t moisture-proofed the flour adequately (you haven’t used the correct amount of butter or processed it fine enough), leaving the flour free to absorb more liquid. The resulting crust will be flakier but less tender.
If you find you need less water than specified in the recipe, chances are you divided the butter incorrectly and used too much of it to moisture-proof the flour, preventing it from absorbing an adequate amount of water. The resulting crust will be more tender but not very flaky.
Flattening the newly formed dough into a disc or discs before refrigerating makes it easier to roll without cracking. The dough is refrigerated to relax the gluten, making it less elastic and easier to roll. Chilling also firms the butter, preventing sticking and the need for extra flour when rolling, which would toughen it. Dough that has rested overnight before baking shrinks less.
